Double the effectiveness of your router with a router table. Smooth sides, cut long moldings and mold and mildew little jobs much easier as well as much more safely using the table. We reveal you how.
1: Shape board sides
Clamp plume boards to the fencing and also table top so they use modest stress to the board. Feed the board with the router at a consistent price. Hook the notch on the press stick over the end of the board as well as use the adhere to press the board past the little bit at the end of the cut.
Router Table Safety And Security
Router bits spin so quick that they demand your consistent focus. Mishaps could occur unexpectedly. Right here are a few of one of the most essential safety policies:
2: Rout with a press block
Get tear-out-free end-grain transmitting. Screw a 2 × 2 deal with to a 10-in. square of timber. Hold the job piece securely against the wood square as well as push it past the bit. Preserve small pressure versus the fence making certain the side of the square push block stays in call with the fence throughout the cut.
3: Set the fencing
Aircraft straight sides. Shim out the left fifty percent of the fencing with a piece of plastic laminate or slim cardboard. Lay a straight board throughout the shimmed-out fencing and against the router bit. Adjust the fence position up until the little bit simply touches the straightedge. Rotate the bit by hand to make certain it hardly touches at its inmost cut.
4: Set up a pattern and also pivot factor
Start freehand transmitting against piloted bits (bits with bearing guides) by pivoting the board into the little bit. Maintain pressure against the pivot up until the bit is engaged and also reducing.
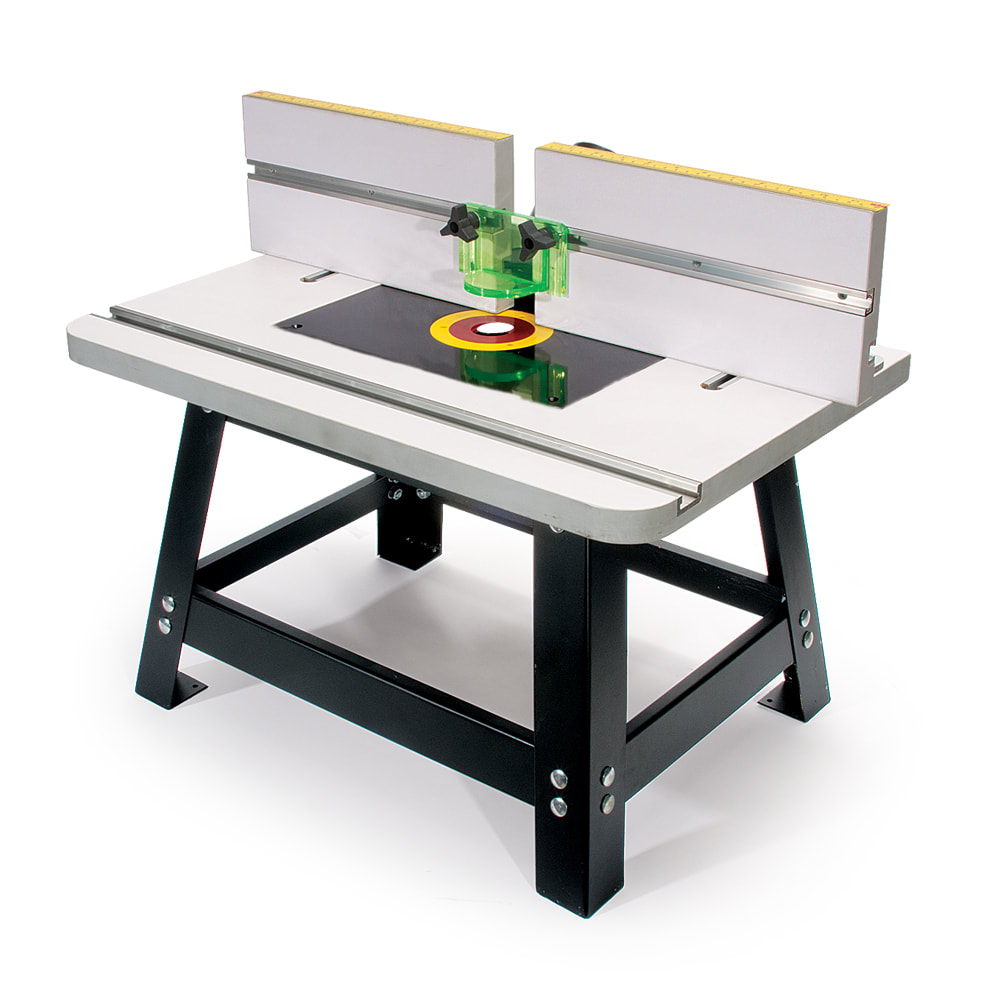
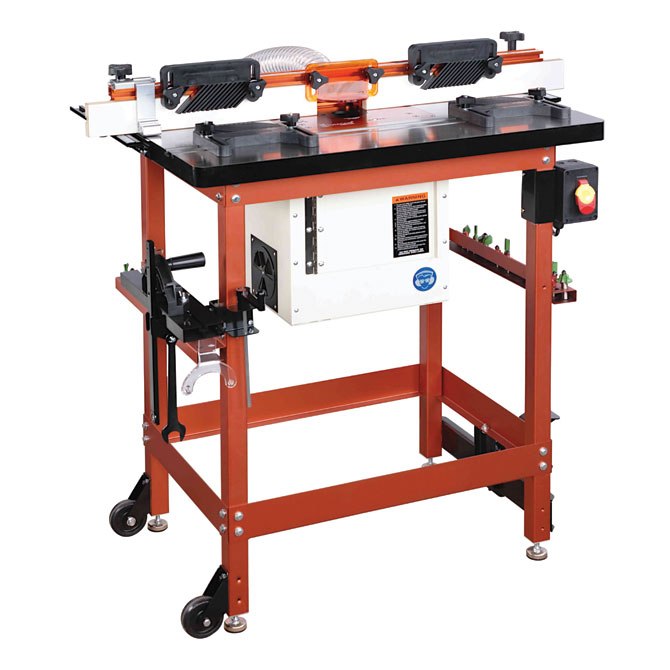
Purchasing Router Tables
You can shim out one side (Image 3) to plane board edges or move the sections tight to the router little bit to get rid of extra room around the bit. Make sure the table has an easily adjustable bit guard and also slots in the table to install feather boards or various other devices. Detachable base plates (image) make it much easier to install your router and take it out to alter bits as well as make elevation adjustments.
1: Shape board sides
Clamp plume boards to the fencing and also table top so they use modest stress to the board. Feed the board with the router at a consistent price. Hook the notch on the press stick over the end of the board as well as use the adhere to press the board past the little bit at the end of the cut.
Router Table Safety And Security
Router bits spin so quick that they demand your consistent focus. Mishaps could occur unexpectedly. Right here are a few of one of the most essential safety policies:
- When altering the bit, constantly disconnect the router.
- Push the bit into the collet. After that raise it to subject concerning one-quarter of the shank before tightening up the collet nut. This will keep the little bit from coming loose in the collet. At least two-thirds of the little bit's shank need to be taken part in the router collet.
- Cover the little bit with a guard whenever feasible (Picture 1).
- Put on shatterproof glass and listening to security.
- Use feather boards as well as press adhere to maintain your fingers far from the bit (Photo 1).
- Move job pieces from right to left versus the fencing.
- Move work items counterclockwise around a piloted bit (Photo 6).
- Never position the fence so the job piece is pressed between it and the little bit.
2: Rout with a press block
Get tear-out-free end-grain transmitting. Screw a 2 × 2 deal with to a 10-in. square of timber. Hold the job piece securely against the wood square as well as push it past the bit. Preserve small pressure versus the fence making certain the side of the square push block stays in call with the fence throughout the cut.
3: Set the fencing
Aircraft straight sides. Shim out the left fifty percent of the fencing with a piece of plastic laminate or slim cardboard. Lay a straight board throughout the shimmed-out fencing and against the router bit. Adjust the fence position up until the little bit simply touches the straightedge. Rotate the bit by hand to make certain it hardly touches at its inmost cut.
4: Set up a pattern and also pivot factor
Start freehand transmitting against piloted bits (bits with bearing guides) by pivoting the board into the little bit. Maintain pressure against the pivot up until the bit is engaged and also reducing.
Purchasing Router Tables
You can shim out one side (Image 3) to plane board edges or move the sections tight to the router little bit to get rid of extra room around the bit. Make sure the table has an easily adjustable bit guard and also slots in the table to install feather boards or various other devices. Detachable base plates (image) make it much easier to install your router and take it out to alter bits as well as make elevation adjustments.
|
|
